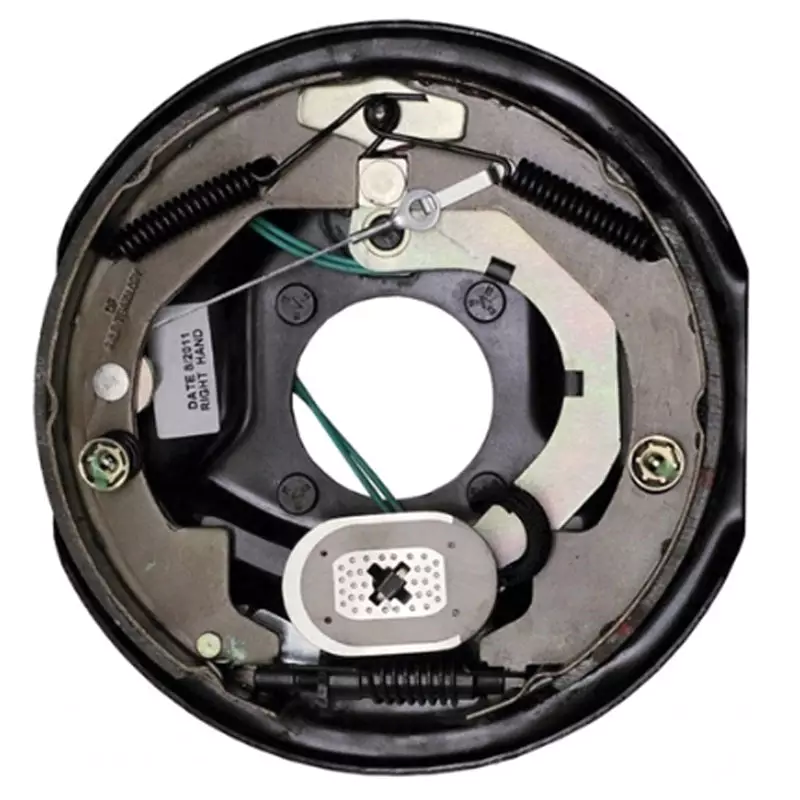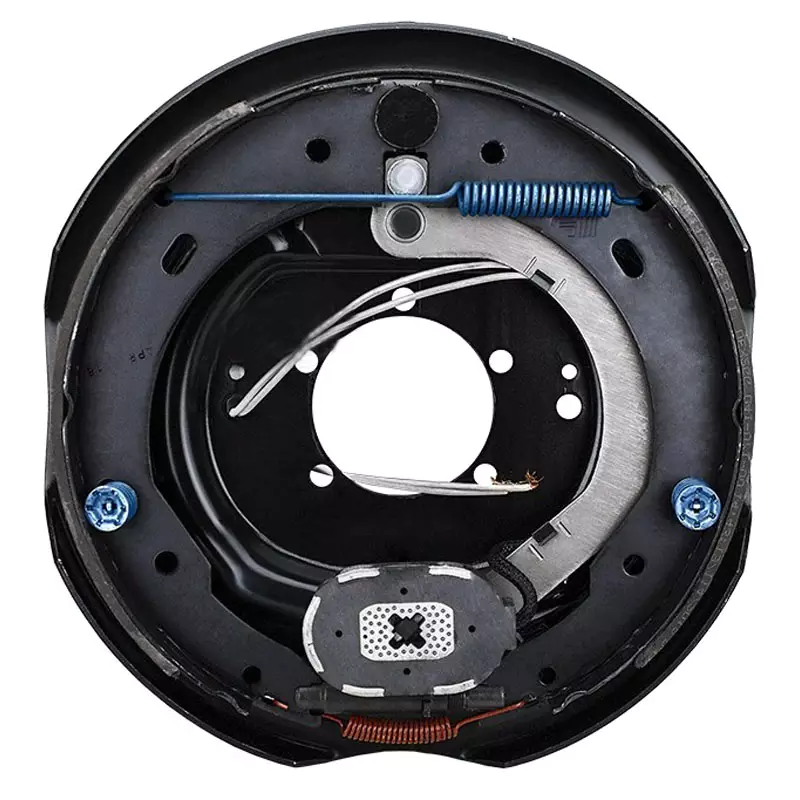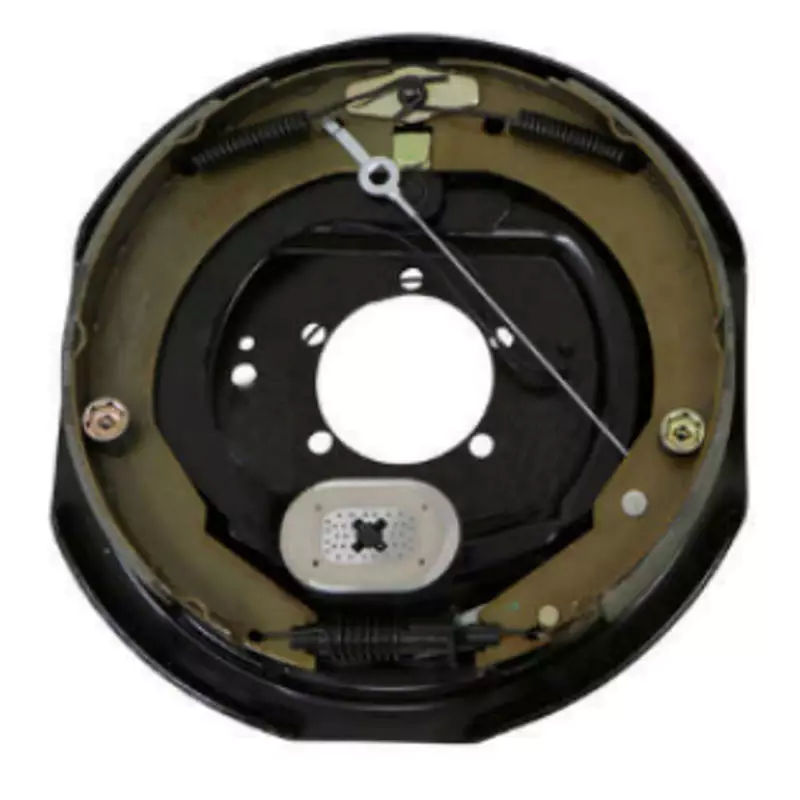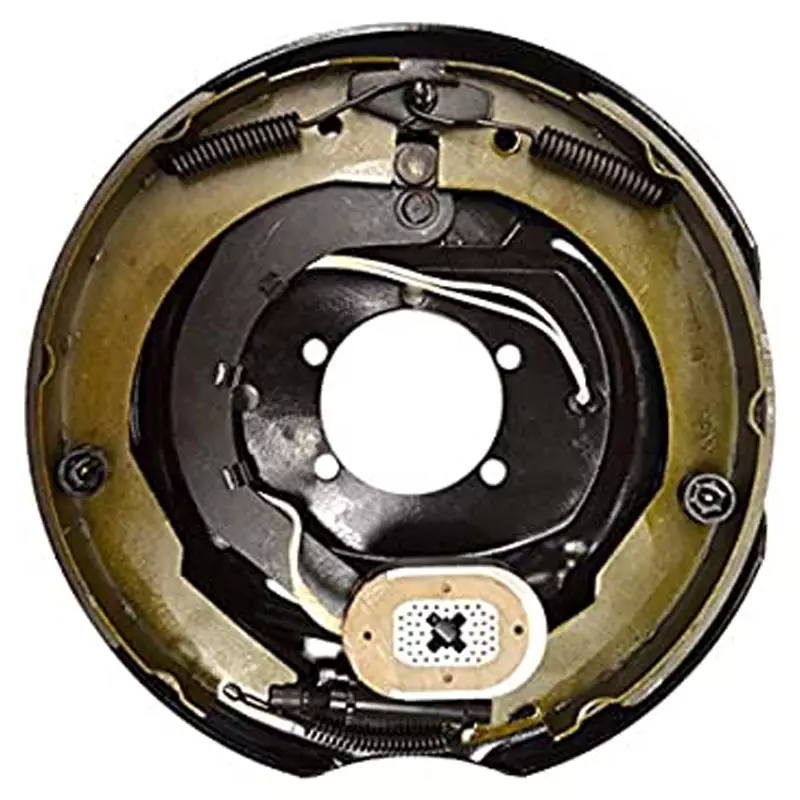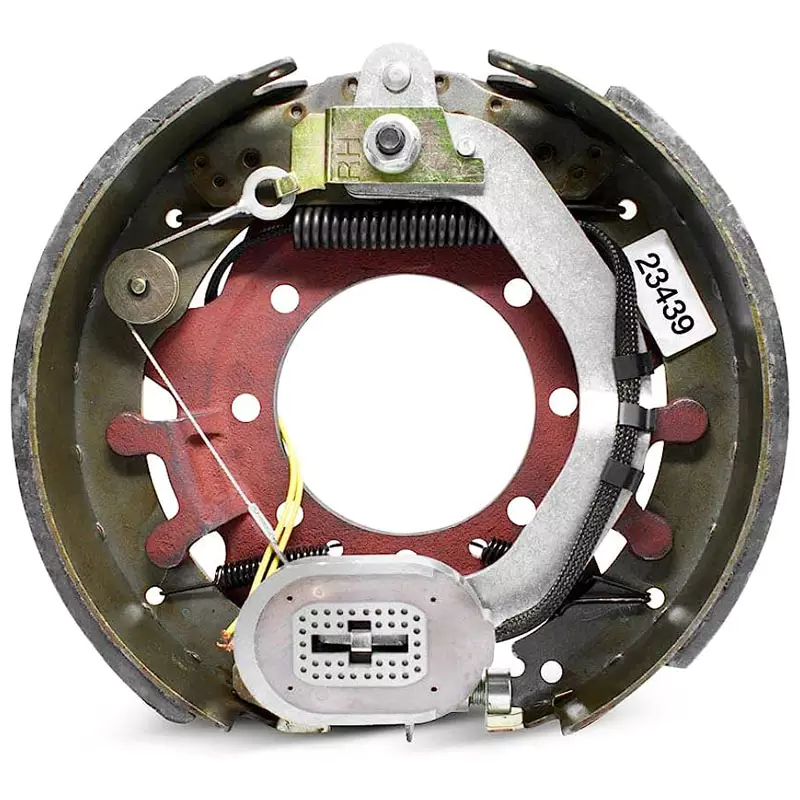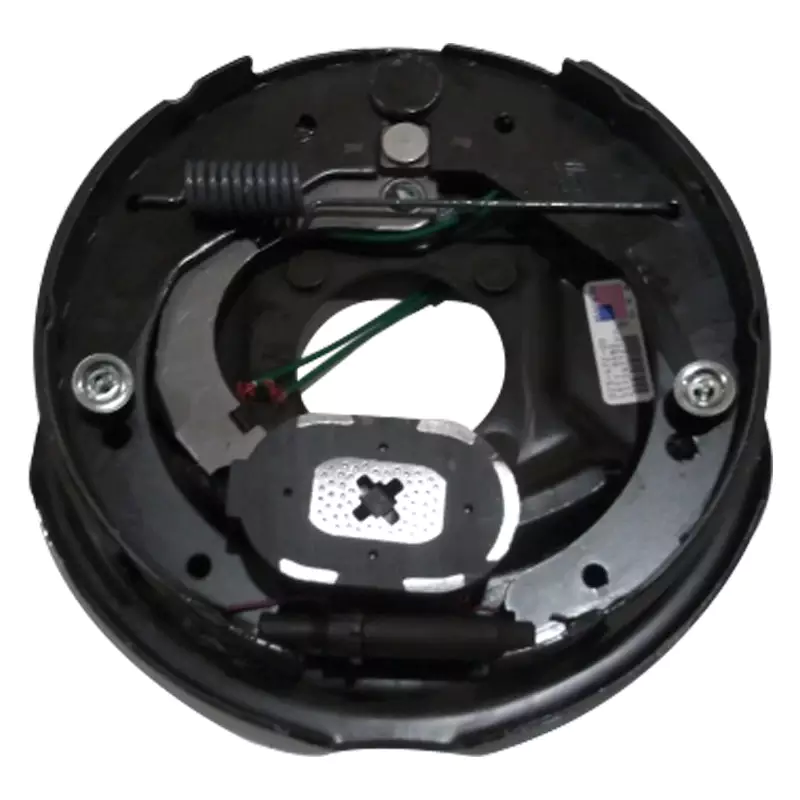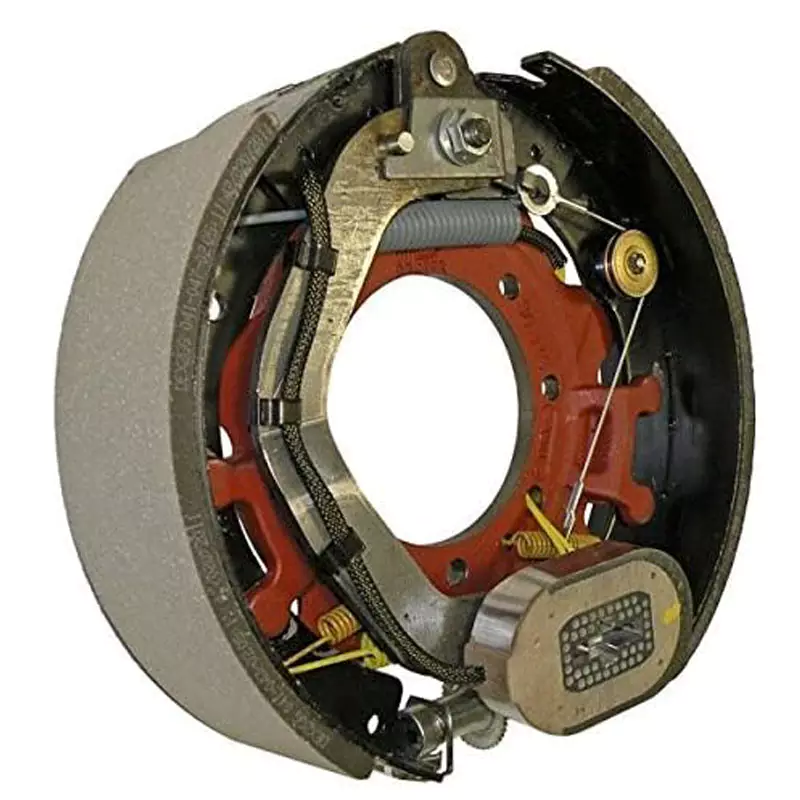
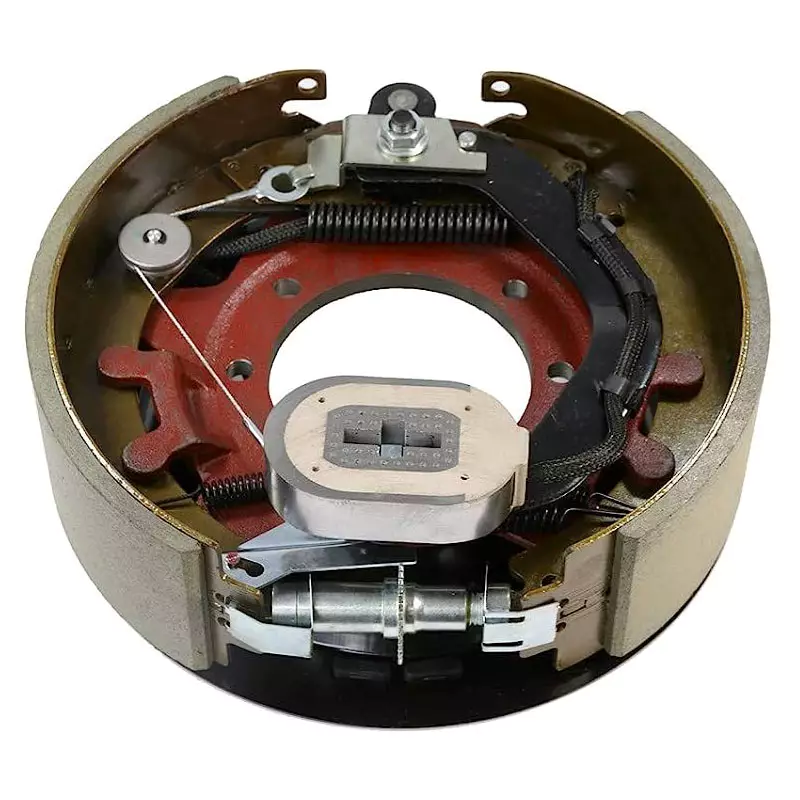
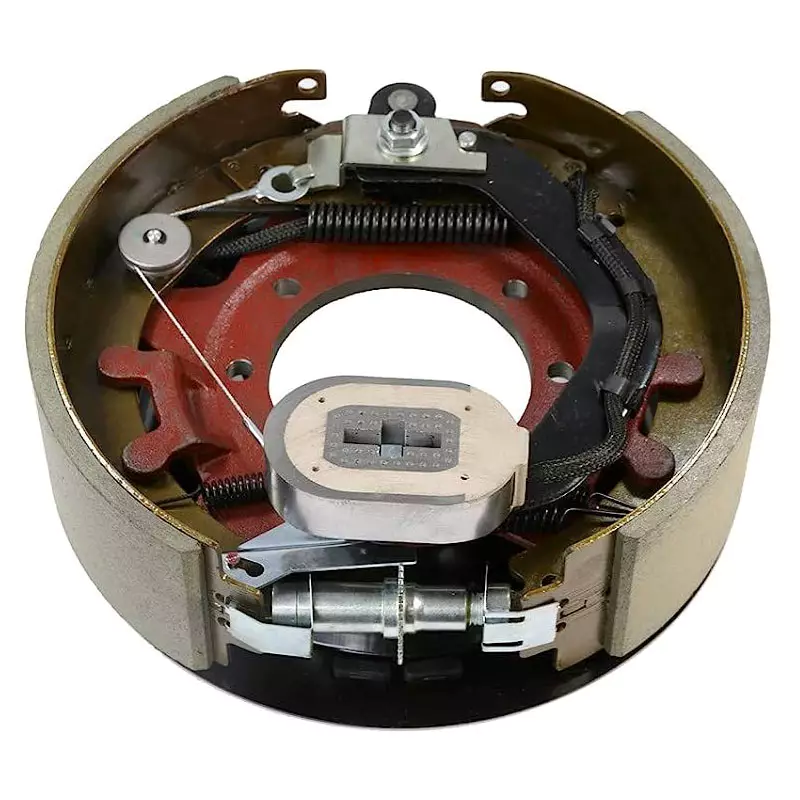
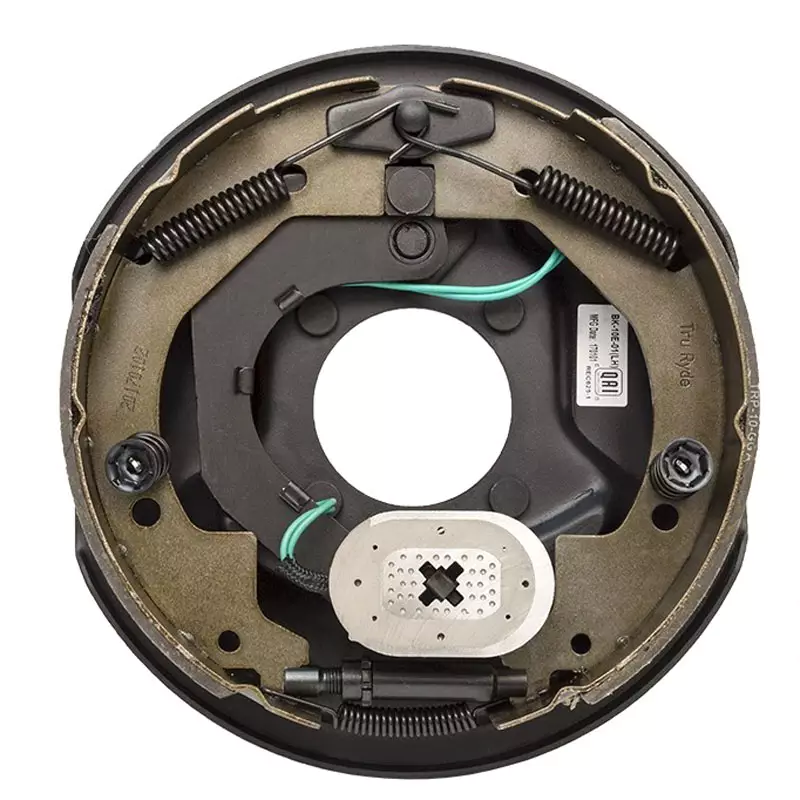
K23-442/443 Trailer Electric Brake 12.25 x 5” 7 Holes
Elevate your trailer's safety with Raydafon Group's K23-442/443 Trailer Electric Brake. Featuring a precise 12.25 x 5" 7-hole design, this high-quality brake ensures reliable stopping power and durability for towing enthusiasts. Ideal for hauling loads securely, it offers peace of mind on every journey. Upgrade to superior performance today!
12-1/4" x 5" Driver's-side electric trailer brake assembly fits 12,000-lb axles. Mounting flange has 7-bolt pattern. Self-adjusting brakes require little maintenance. Fits 15" or larger wheels.
Features:
Electric brakes are easier to install and offer more user control than hydraulic brakes
Requires only an electric brake controller (sold separately) - no actuator or hydraulic lines necessary
Self-adjusting brakes automatically adjust to deliver optimum performance and braking power
No need for manual brake adjustments
Proper adjustment leads to better brake efficiency and less wear on your tow vehicle's brakes
Mounting bolts and hardware sold separately
Specs:
Application: most standard hub-and-drum assemblies, including Dexter and Lippert (LCI)
Configuration: left hand (driver's side)
Dimensions: 12-1/4" diameter x 5" wide
Mounting flange bolt pattern: 7 bolt
Wheel size: 15" or larger
Axle rating: 12,000 lbs
Limited 5-year warranty
Types of Electric Brake
86435 L/R 10`Electric Brake
86435-S L/R 10`Electric Brake(self-adjusted)
86437 L/R 12`Electric Brake
86437-S L/R 12`Electric Brake (self-adjusted)
86439 L/R 12`Electric Brake (heavy duty) 7K
K23-438/439 12.25 x 4” Electric brake7 holes(Yellow wire)
K23-442/443 12.25 x 5” Electric brake7 holes (Black wire)
K23-446/447 12.25 x 5” Electric brake7 holes (blue wire)
K23-450/451 12.25 x 3-3/8” Electric brake7 holes (Yellow wire)
Brake Assembly Parts
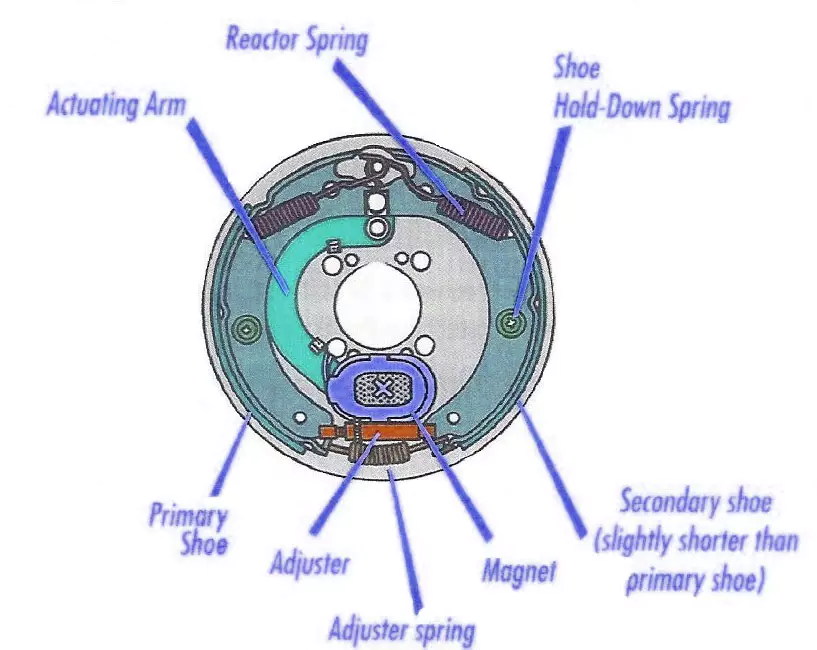
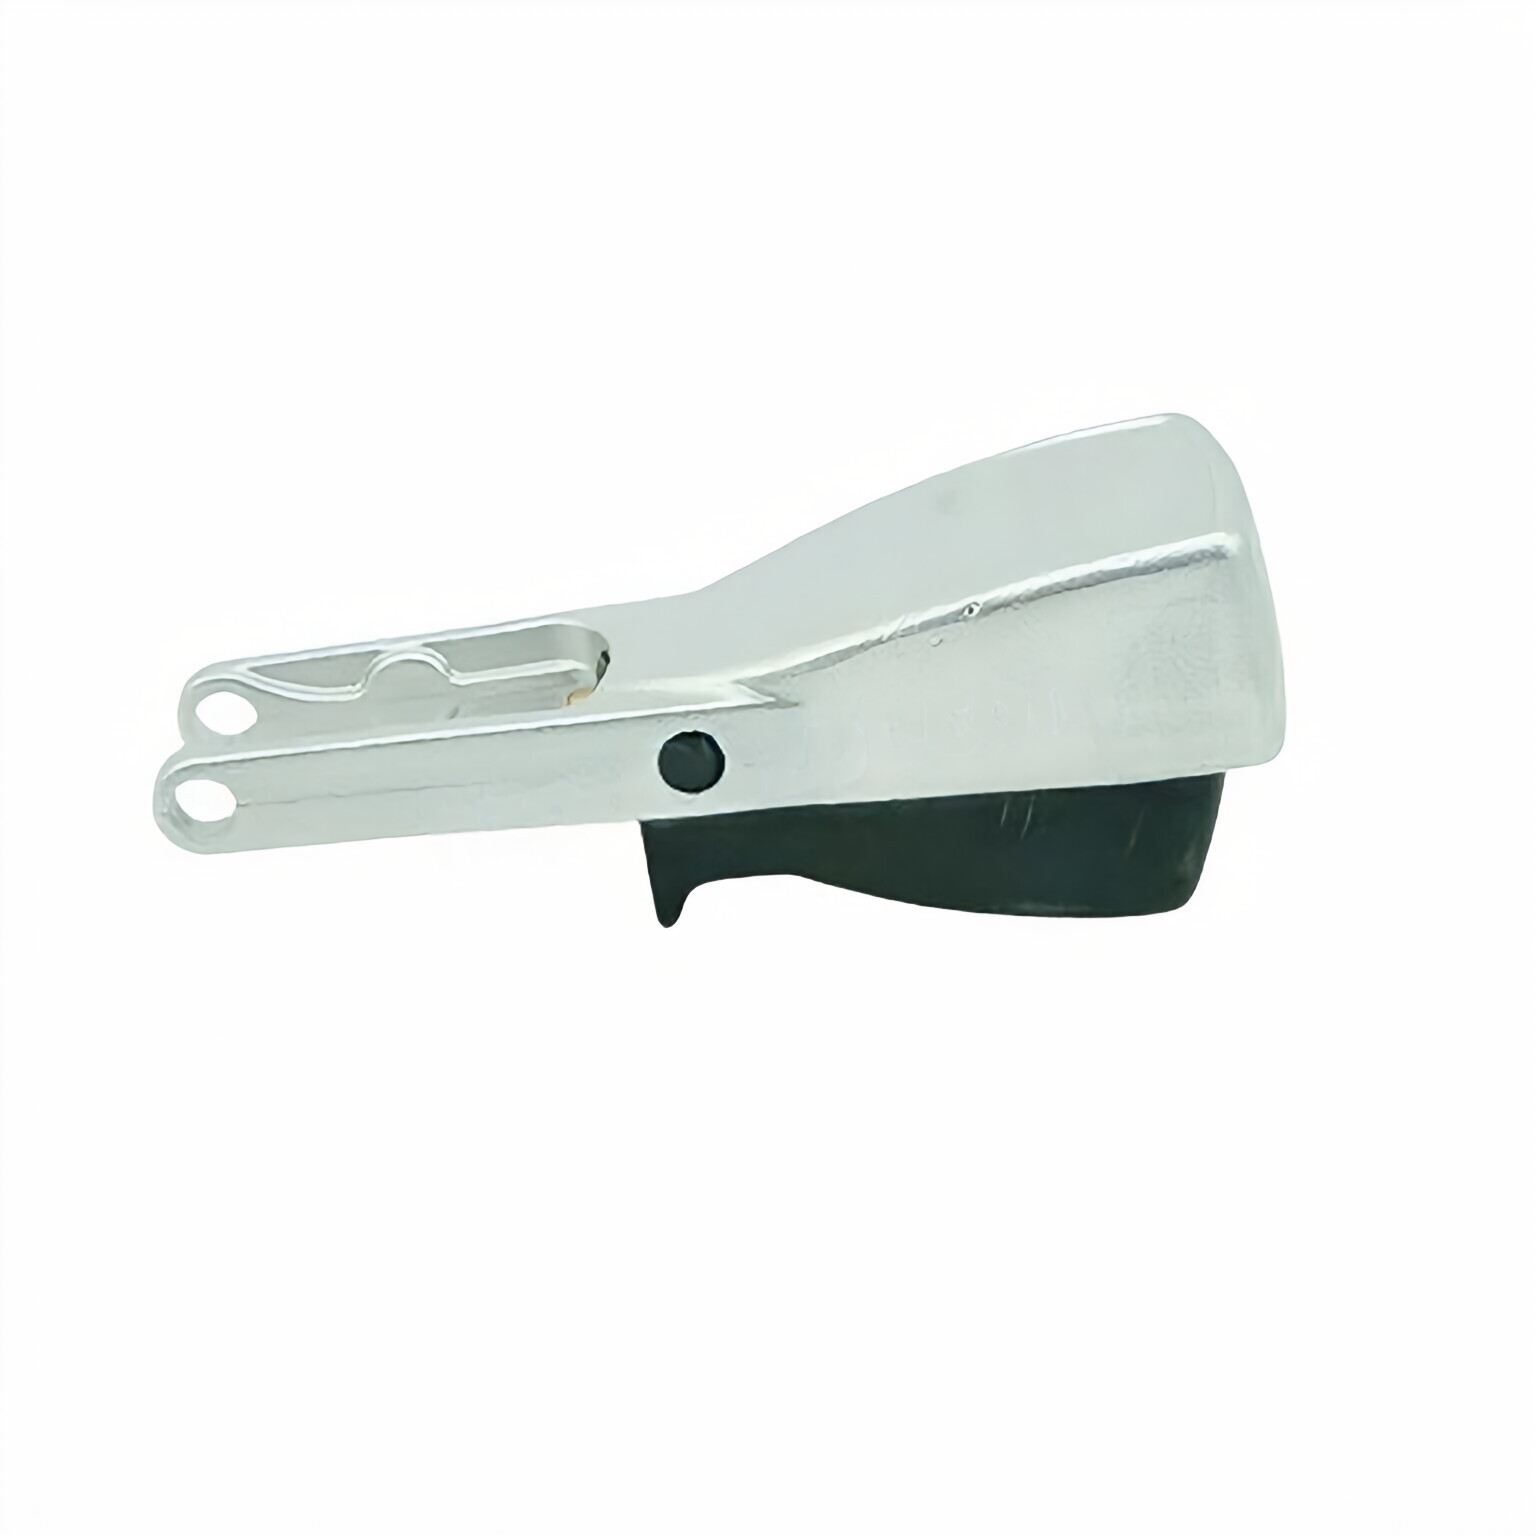
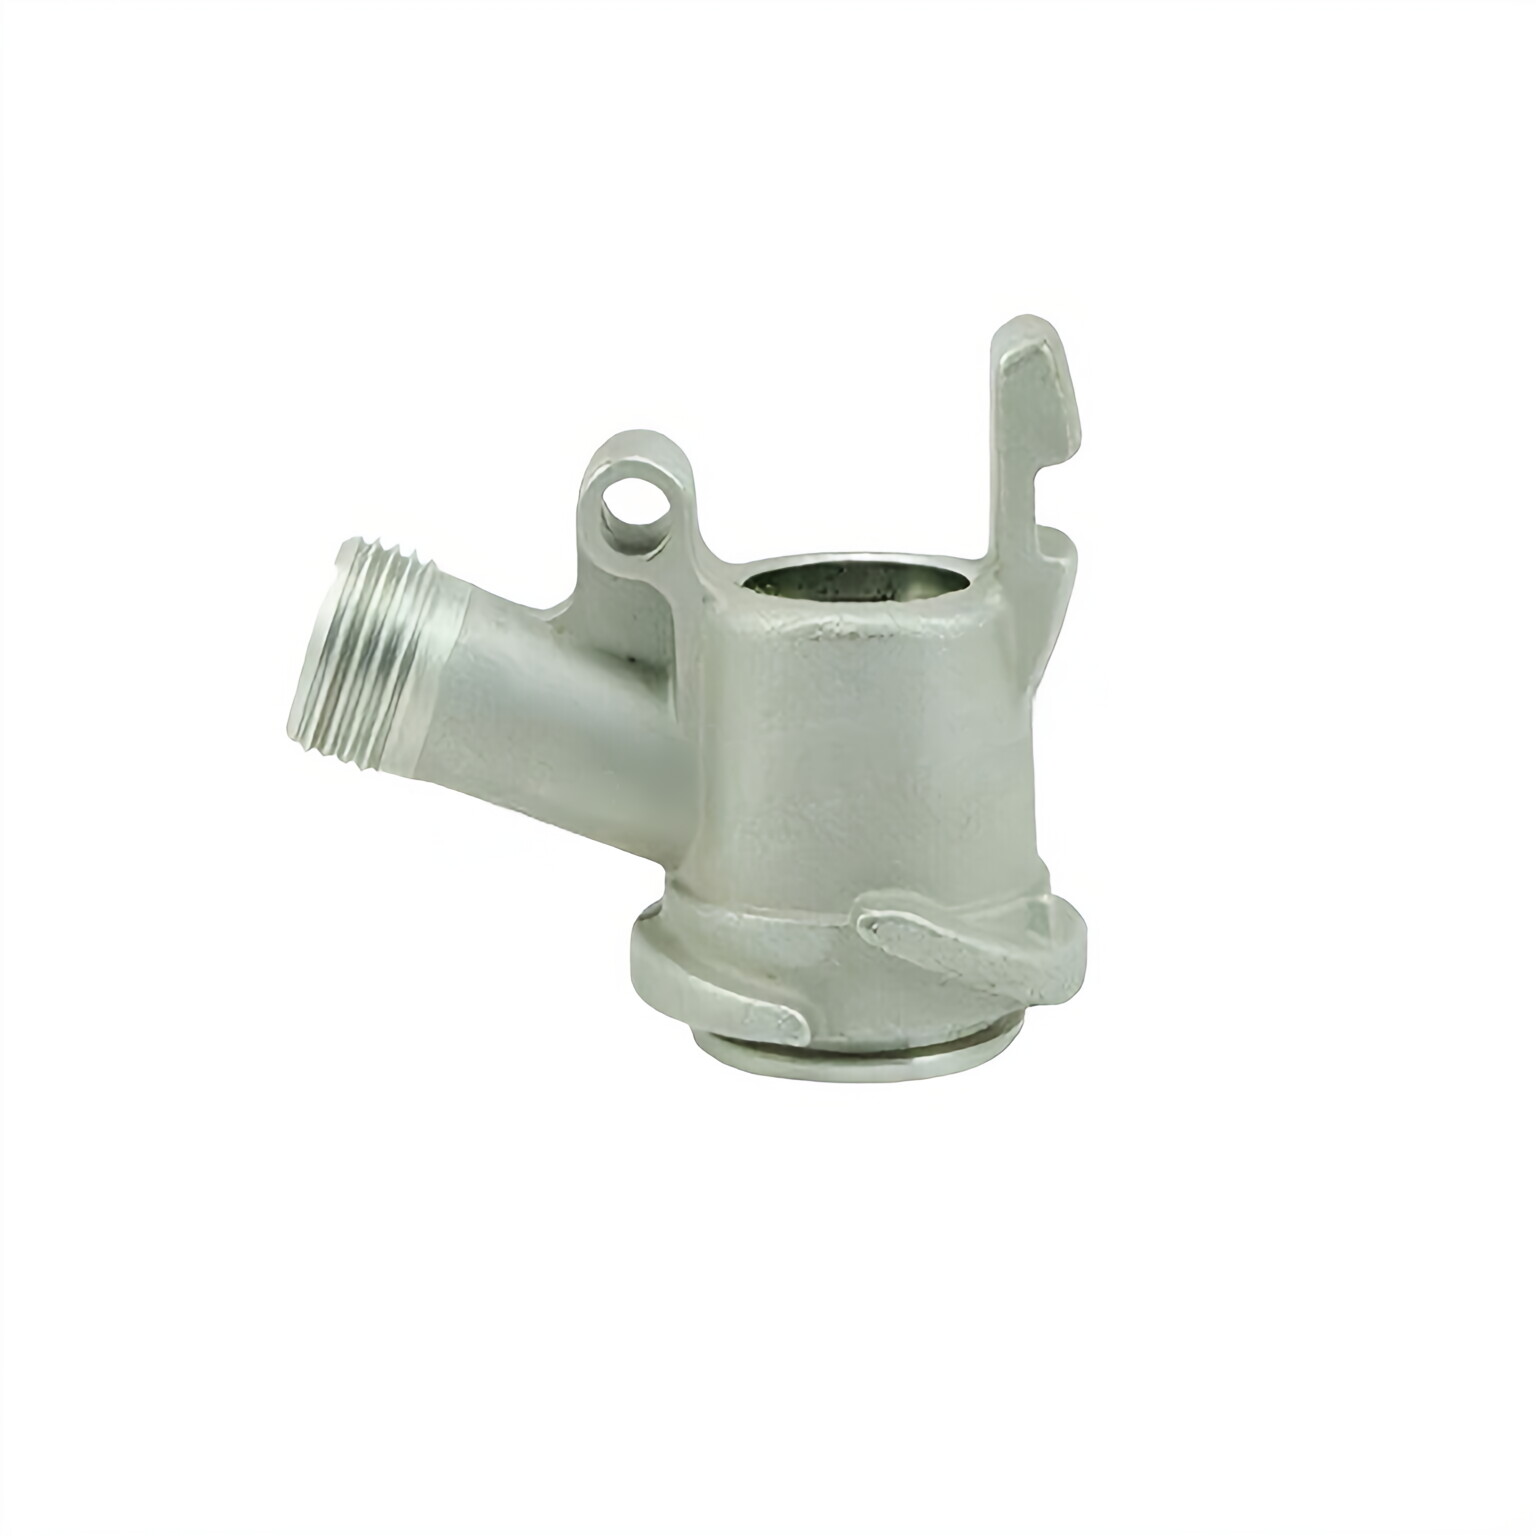
Take a look at the major parts that make up a brake assembly:
Reactor Spring
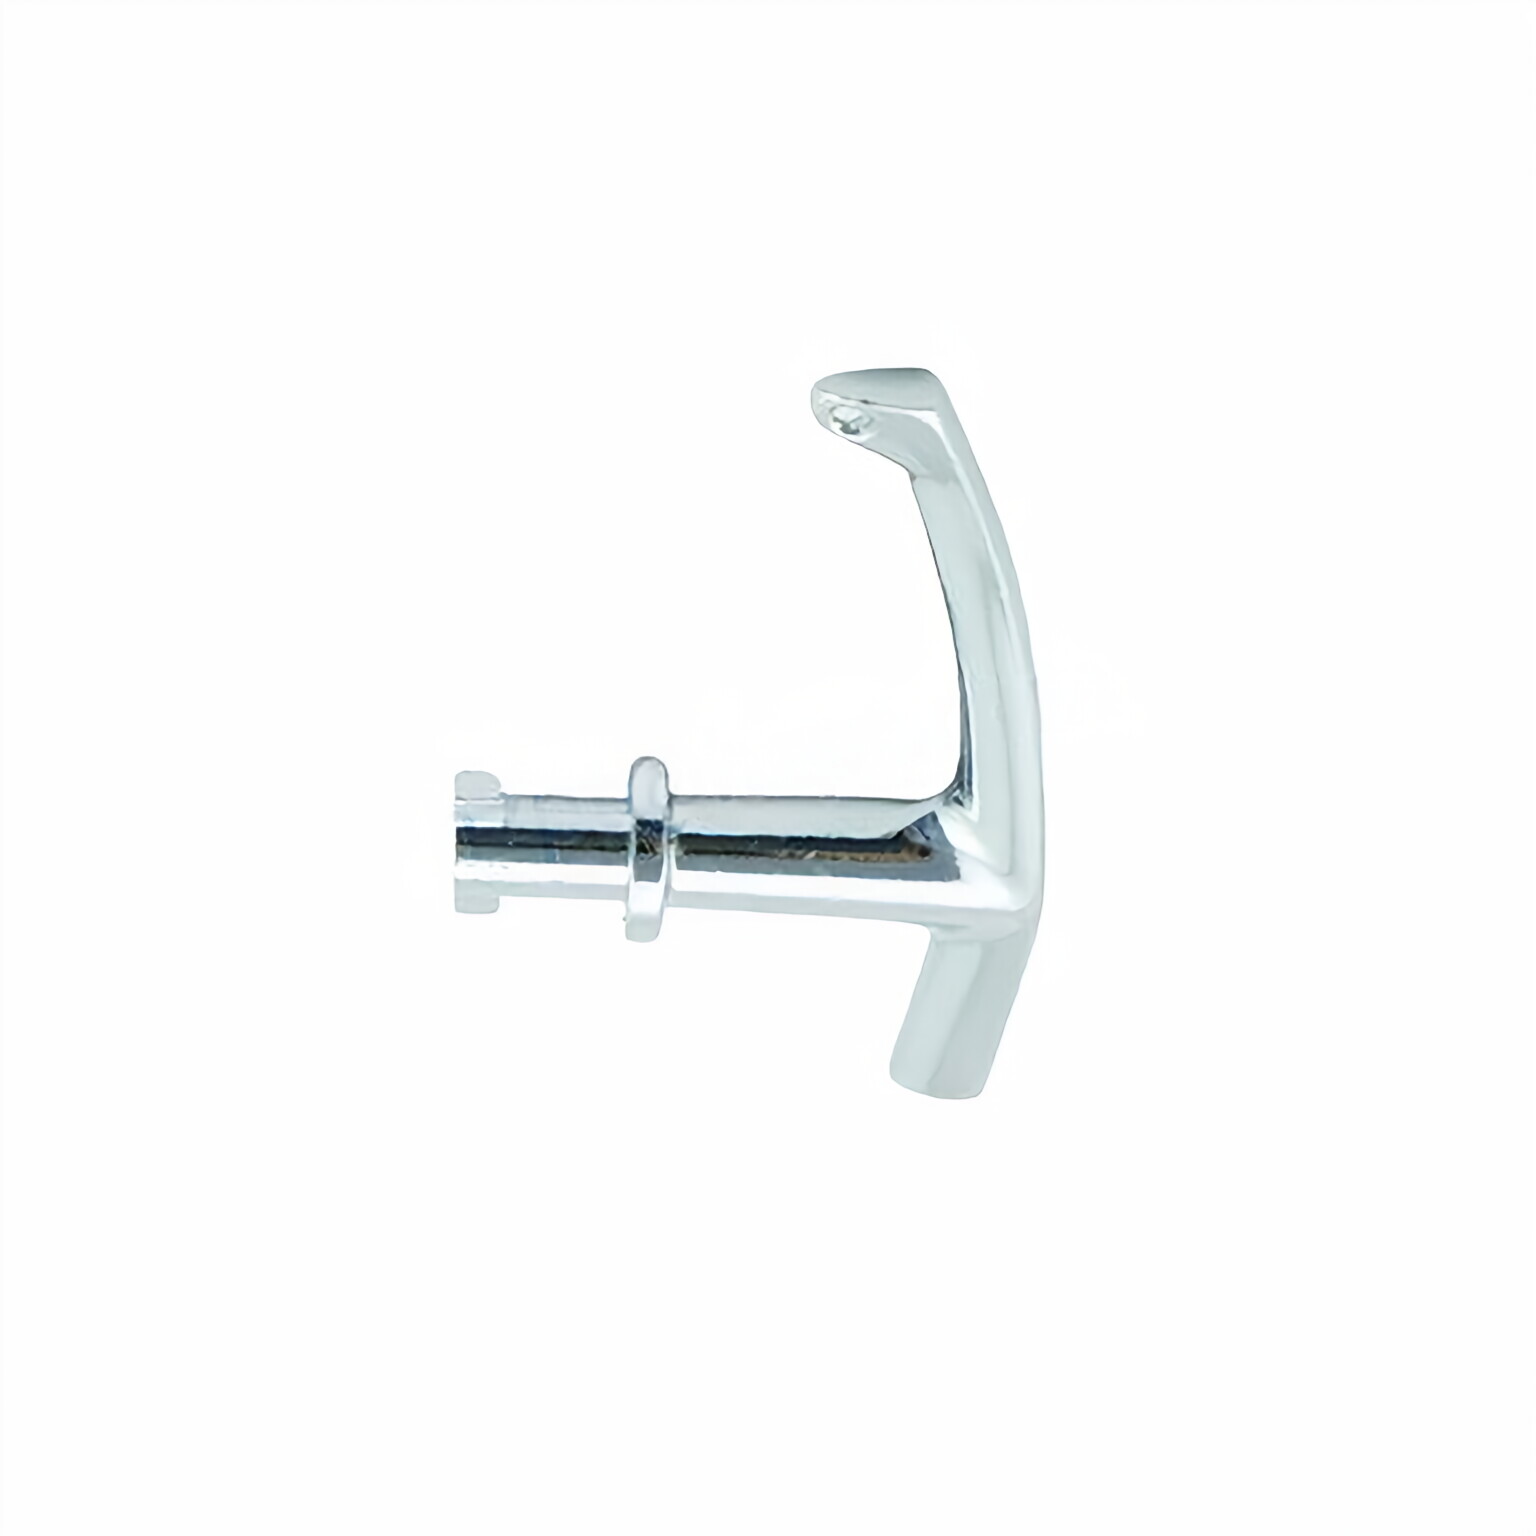
Actuating Arm
Shoe Hold-Down Spring
Primary Shoe
Adjuster
Adjuster Spring
Magnet
Secondary Shoe
How To Test Trailer Brake Magnets
Steps for Visual Inspection:1. If any coil can be seen on the center of the magnet, the magnet is worn out and should be replaced2. Take a straight edge tool and lay it across the top of the magnet. The edge of the magnet should be parallel to the straight edge all the way across. Any pitting or changes in the magnet's surface indicate abnormal wear and the magnet should be replaced.3. Inspect the magnet for grease or oil residue, if any is found replace the magnet.Testing:A multimeter that reads amps and ohms will be needed to test trailer brake magnets. The Raydafon can also be used as it has test functions built in. To test with a multimeter you will connect the ammeter inline with the blue wire exiting the back of the brake controller or use the brake controllers diagnostic readings. If the amperage is greater than the specified amount (see table below), replace the magnet or magnets. If the reading is less than the specified amount, the leads are bad and the magnet or magnets should be replaced.
Hot Tags: Trailer Electric Brake Supplier, Electric Brake Replacement, Trailer Brake Parts Wholesale
We use cookies to offer you a better browsing experience, analyze site traffic and personalize content. By using this site, you agree to our use of cookies. Privacy Policy