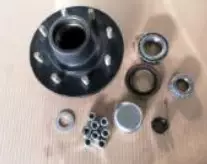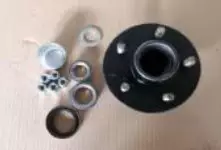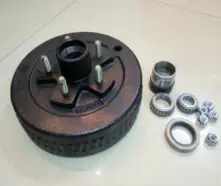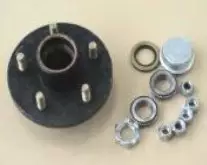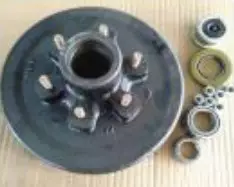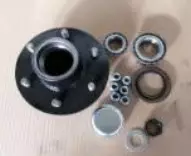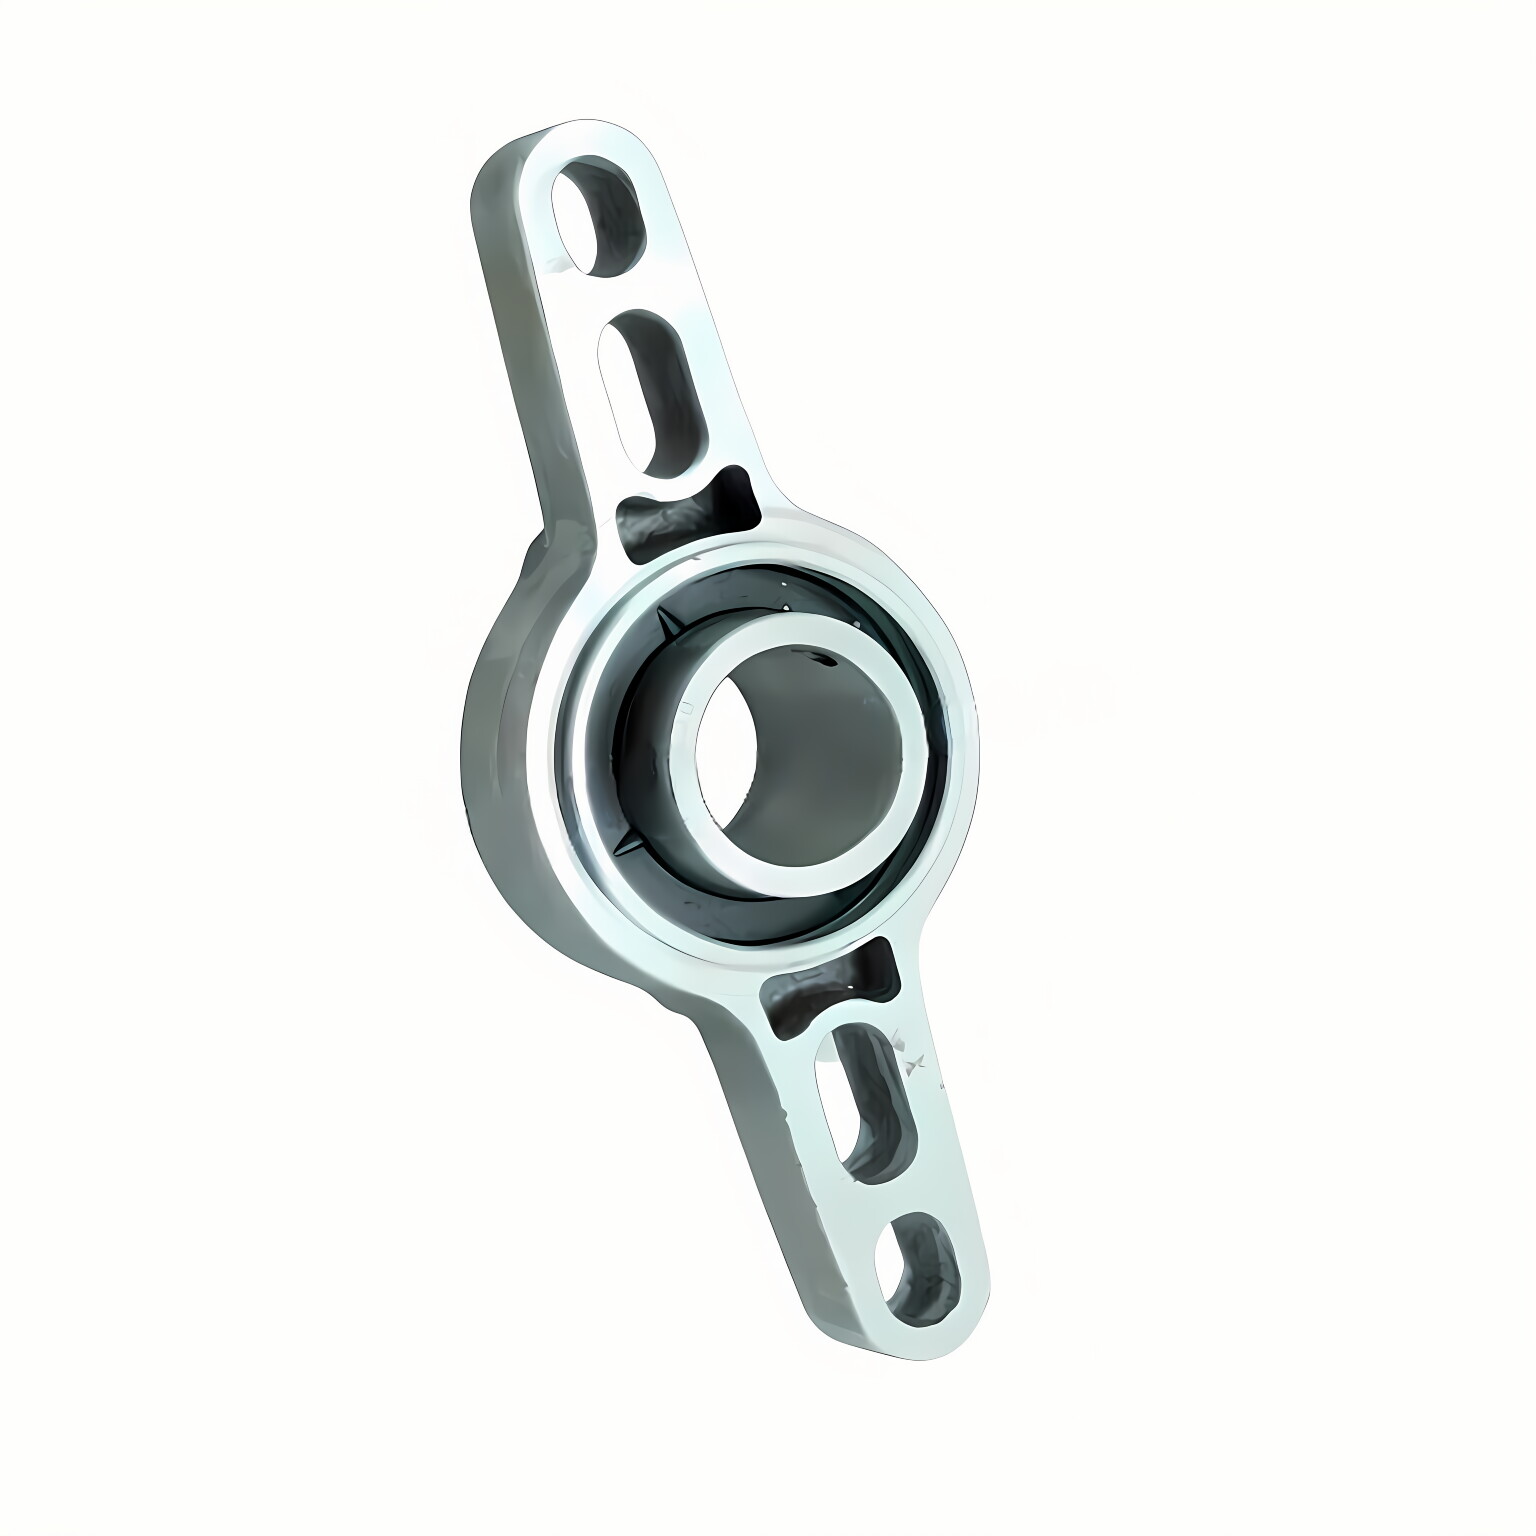
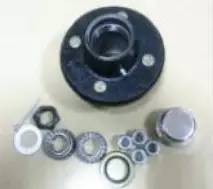
Raydafon Group presents the Trailer Hub and Drum H655-2A Idler 6 Bolts, a durable solution for trailer maintenance. Crafted from high-grade steel, it offers superior strength and smooth operation, ideal for long-haul truckers and fleet owners. This product reduces wear, enhances safety, and provides reliable performance on the road. Experience peace of mind with this cost-effective, easy-to-install upgrade.
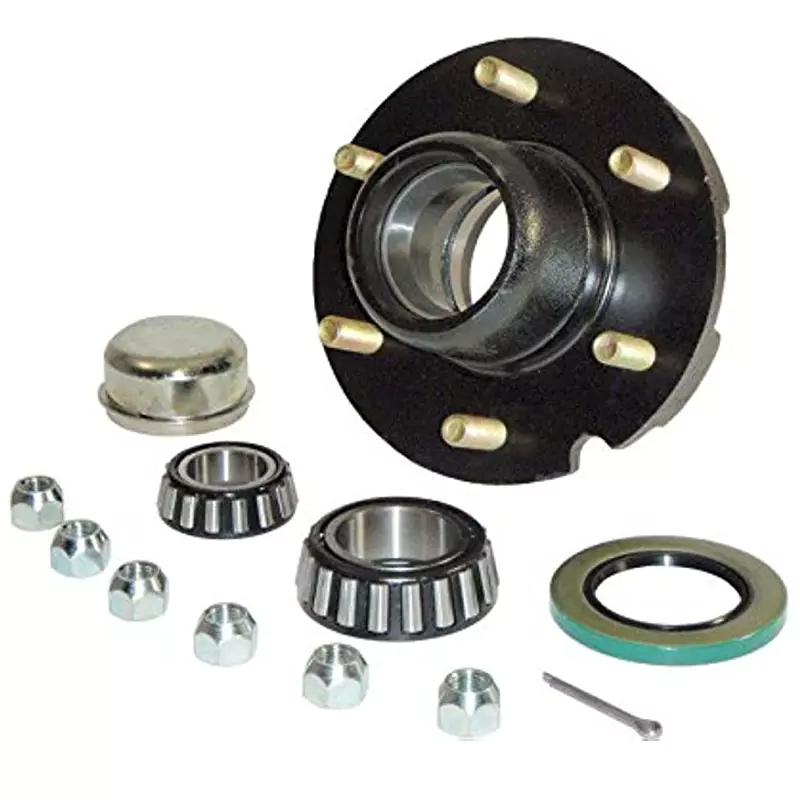
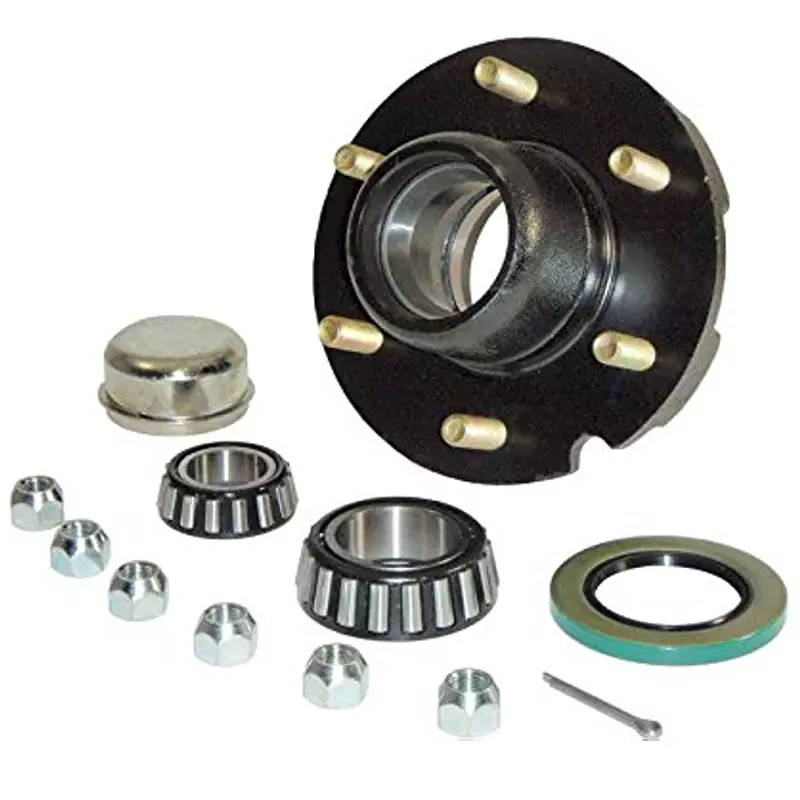
H655-2ABt Idler 6-bolts 5.5”BC6000lbsHub+bolts+nuts +bearing cups 15245/25520 +bearing cone 15123/25580 +seals+dust capThe main function of a trailer hub is to transmit power between the trailer and the trailer. When the trailer is connected to the trailer hub, the trailer hub transmits power to the wheels of the trailer to drive the trailer. The trailer hub can also prevent the trailer from shaking and swinging during driving, thereby improving driving stability and safety.
Fits 5,200 and 6,000 lb. axles. Rated at 3,000 lbs per hub.
6-bolt on 5-1/2" bolt circle with 1/2"-20 studs
Complete assembly with bearings, seal, dust cap, cotter pin and lug nuts
Pilot diameter is 3.5", flange diameter is 7.06".
Read product description below for more detailed information.
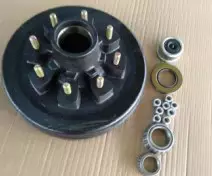
Trailer Hub and Drum
H440-2ABt Idler 4-bolts 4.0” BC2000-22001bsHub+bolts+nut+bearing cups 44610/44610+bearing cone 44649/44649+seals+dust cap
First things first, it’s important to know what you’re replacing before you dive into the job. Recognizing the various components and overall assembly will make you more confident in your abilities and help avoid mistakes and unnecessary work.
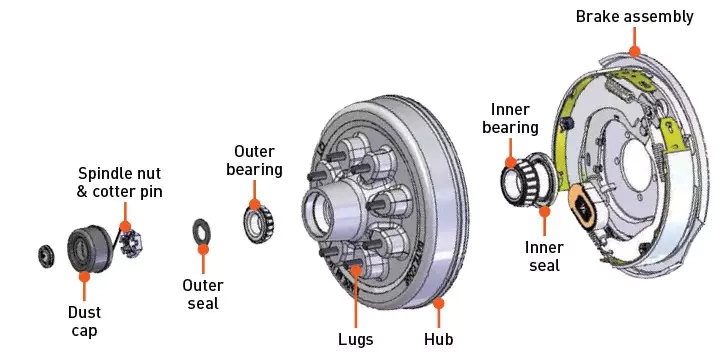
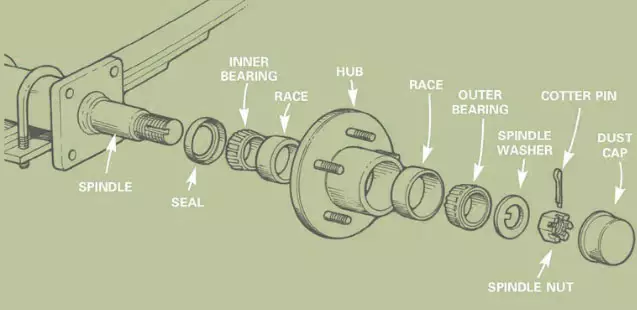
This is the complete trailer wheel hub assembly with the hub installed versus with the hub removed:
Lug Stud
Lug studs are threaded bolt studs that keep the wheel secured on the hub, using lug nuts. Different hubs have different numbers of studs, from four to eight, or even more.
Dust Cap
The dust cap protects the bearings, grease and other inner components of the hub. Typically, the dust cap is mounted in place with a friction fit.
Spindle
The spindle is the threaded end of the trailer axle. It serves as the primary mounting point for the hub and bearings.
Brake Shoes
The brake shoes are pads within the brake hub that create friction when the trailer brakes are activated. The shoes press outward, rubbing against the inner surface of the hub and creating the braking action to stop the trailer.
Brake Magnet
The brake magnet is an electromagnet that actuates the brake shoes. When the vehicle brakes are applied, the brake controller sends a signal to the magnets to activate the outward pressure of the brake shoes.
Spindle Nut
The spindle nut is a large nut that threads onto the end of the axle spindle. On many trailers, it’s a castle nut and is secured using a cotter pin.
Bearings
The bearings allow the wheel and hub to spin freely. Usually there is an inner bearing and outer bearing per hub. The bearings get packed with grease for maximum lubrication.
How to Replace a Trailer Hub?
Remove the wheelRemove the lug nuts and the wheel. Be sure that the trailer is supported with jack stands and the opposite wheel is blocked.
Remove the dust capPry the dust cap loose with a large screwdriver.
Remove the cotter pinStraighten the ends of the cotter pin and pull it out with needlenose pliers.
Remove the hubRemove the retaining nut and washer, then pull the hub off the spindle. Be careful—the trailer bearings will come out with the hub. Set the bearings on clean newspaper.
Remove the rear bearing and sealremove the rear bearing and seal, tap along the rim of the bearing with a block of wood and a hammer. If the seal is rusted to the back of the hub, spray a little WD-40 on the back to help loosen it. If the seal is damaged, replace it. Clean all the grease from the bearings, races and seal with a brush in a small pan of kerosene. Inspect them for signs of wear and replace them if they look suspect. Once the bearings and parts are clean, spray them with brake cleaner and set them aside to dry. Wipe the spindle and the inside of the hub with a clean rag to remove all the grease, and clean them with brake cleaner as well.
Pack grease into the bearingsPush the grease into the bearings, working from the wide side of the bearing. Keep pushing the grease into the roller until the cage and rollers are filled. Next coat the inside of the hub with grease. Tap the seal back onto the rear of the hub with a block of wood and hammer, and install the hub and bearings back on the spindle.
Reassemble the hubThread the nut back onto the spindle and turn it clockwise. Spin the hub a few times as you tighten to make sure the bearings are seating properly. Tighten the nut firmly. Now back the nut off about an eighth of a turn until the hole in the spindle aligns with a space in the nut. Push in a new cotter pin (available at hardware and auto parts stores) and bend the ends of the pin to keep it from working its way out. Tap the dust cap back into place. Coat the lug threads with anti-seize compound, reinstall the wheel and tighten the lug nuts. Do the same for each wheel.
Hot Tags: Trailer Hub and Drum Idler, H655-2A Idler 6 Bolts, Customized Trailer Hub Manufacturer
We use cookies to offer you a better browsing experience, analyze site traffic and personalize content. By using this site, you agree to our use of cookies.Privacy Policy